Our site uses cookies to give you the best experience. or continue shopping if you're happy.
Accept & closeDIY: Lace napkins
Create beautiful place settings with an ombre-effect dyed lace napkin!

"I’ve been enjoying using fabric paints recently and have been inspired by a project I saw in Mollie Makes magazine designed by Jeksa of Lobster and Swan blog, where she used fabric paints to dye lace. You can pick up scraps of lace cheaply at markets or at haberdasheries and this is a nice idea for updating it. I decided to create an ombré effect and add the lace to some napkins. I’ve deliberately used a rougher textured fabric for the napkins and left the edges slightly frayed, as I thought this was a nice contrast with the delicate lace, but you can go for a softer material and a more finished look if you prefer, or you could embellish napkins you already own."
Here's what you'll need
- Dylon fabric paints in colours of your choice
- Plain fabric
- Lengths of lace
- Paint brush
- Needle and thread
- Fabric scissors
- Sewing machine
Here's how it's done
Step 1
Firstly make sure your lace strips are long enough to fit across the length of your napkin. I cut mine to 38cm long.
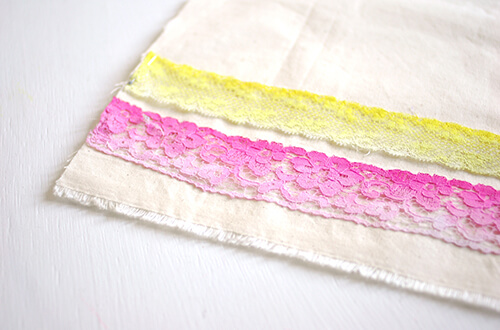
Mix your paints until you have the desired colour. For the ombré effect, I started off adding a small amount of the colour to white paint, and used this pale colour to paint a strip along the top length of the lace. Then I added a bit more of the colour to get a darker shade, and then painted a strip of this across the middle of the lace. Use lots of water to blend the two shades into each other. Then I used the colour with no white added for the bottom strip, and again blended with water.
Leave the lace to dry, either overnight or on the radiator.

Step 2
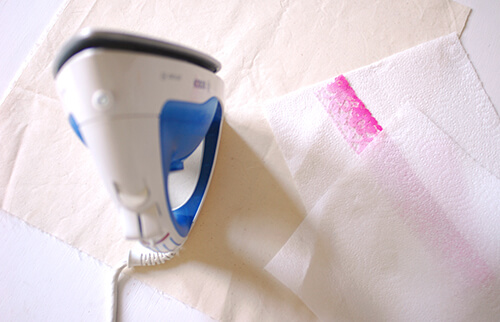
Once it’s dry, place it between 2 sheets of kitchen towel and iron to fix the colour.
Cut one piece of plain fabric to size – I cut mine to 37cm square.
Position your lace strips, fold in the raw edges, and then using tiny stitches, sew the lace strips onto your fabric, both along the top length and bottom, as well as stitching your folded in raw edges.
Step 3
Cut another piece of plain fabric exactly the same size as your first. This piece is your backing to cover where you’ve stitched on your lace. Place the 2 pieces of plain fabric together and stitch along the edges on your sewing machine. I used pink thread for added interest, but you can match your thread to your fabric if preferred. And of course, if you want a neater look, this is when you need to create hems along each side.
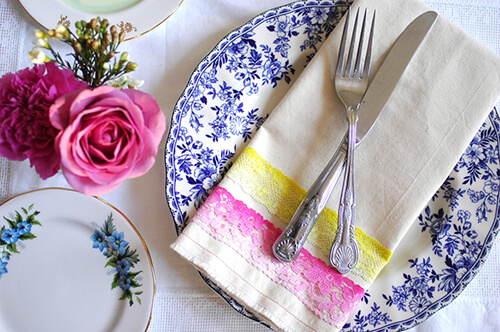
Experiment with the paints to get different effects and you could make a set of napkins each with a different colour lace strip for a colourful table display!
